Introduction:
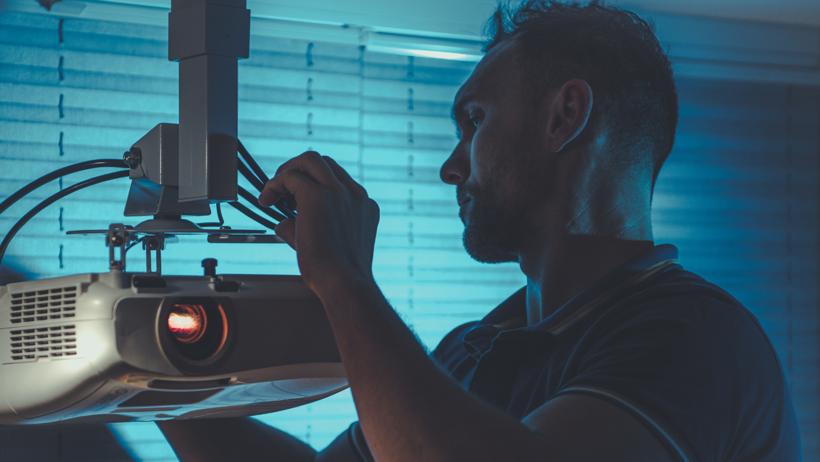
Projectors are the latest technology which is replacing television. We know you are a beginner with projector so we are happy to help you to explain how to setup a projector in easy steps. Setup up a laptop is not a tough task. You just need to follow some simple basic steps and your projector is ready to use.
Setting up a projector is very easy. There are two ways to set up a projector. One is the wired way, and the other is the wireless way. The main difference in both setups is that the wired setup uses HDMI or VGA cables to connect a projector. While a wireless way needs only a Wi-Fi or Bluetooth connection to set a projector. If you want to learn how to setup a projector, read the steps below
How to setup a projector?
Setting up a projector requires some basic steps to be followed in sequence to work out properly. These basic steps are explained in detail so you can understand how to setup a projector.
1. Finding the right place:
For setting up a projector, the hassle starts with selecting a suitable place for the projector. The space must be at-least enough that a projector and its wall can be fitted, or instead of a projector screen, there must be a wall near with a color nearly white because the projector can show images small up to 40-50 and large images of about 300 inches. Some projectors need to be fixed back because images are large and cannot fit, so the projector is moved further back while fitting the image on the screen.
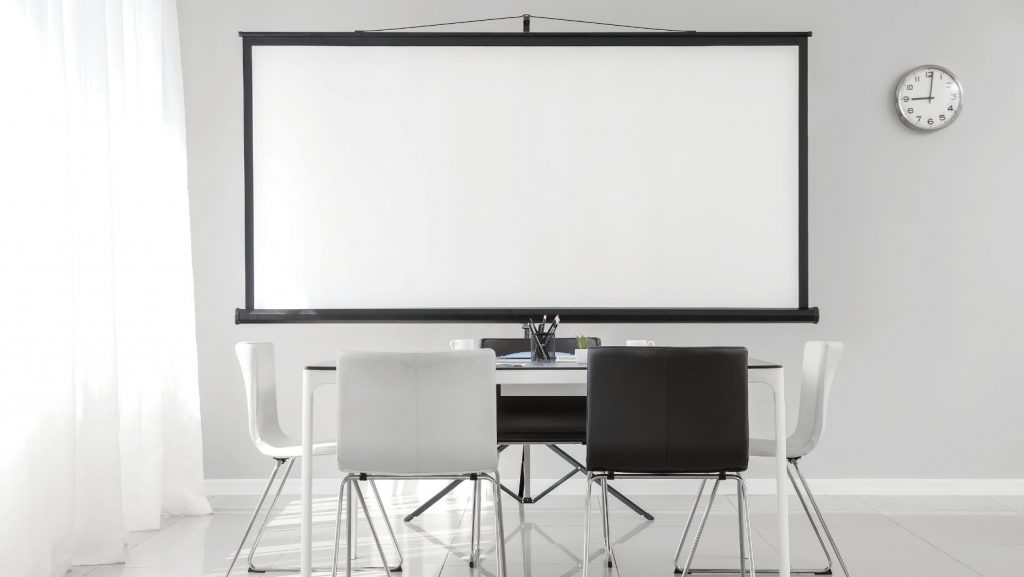
To overcome this issue, some companies have provided screen length calculators on their website so that customers overcome the inconvenience.
2. Screen setup:
If you have got a projector, then you must have a screen. After selecting the area, you must set up the screen immediately. We recommend a screen because it has a perfect background to merge it on the screen during media consumption.
You must consider a trial of all the devices before their use.
3. Choosing the proper height:
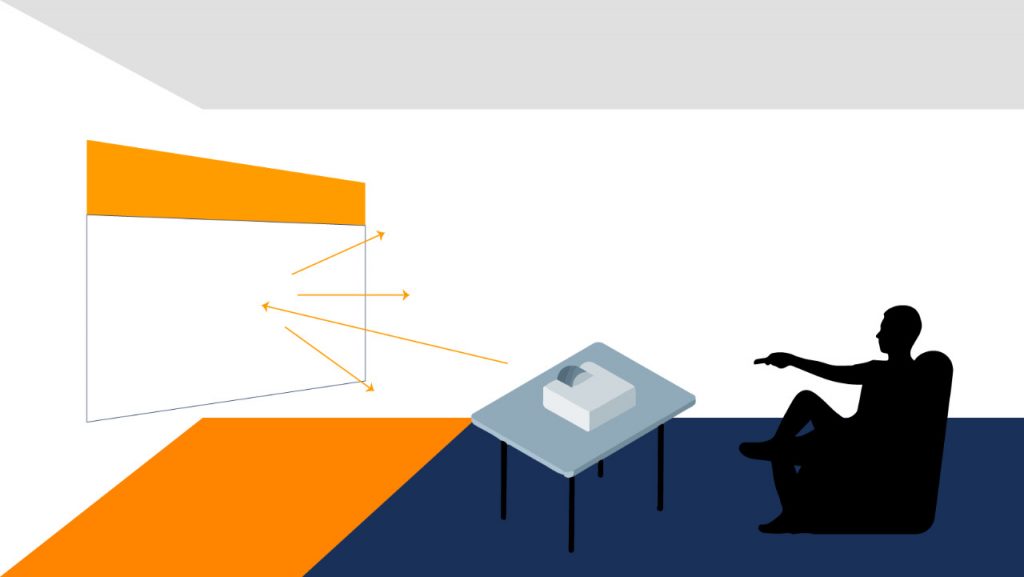
One crucial factor in setting a projector is its height and position in front of the screen. But while considering this factor, you also have to take into account the orientation of the projector. In this case, we will explain the significance of height, which can produce a trapezoid image when disturbed. Could you make sure to set the height so that image matches the corners of the screen? You can also select the upward throw option, leading to a problem if the projector is on a stand instead of a table.
4. Plugging every thing efficiently
Efficient plugging is a key to successful projection. For this purpose, you need to check every connection. Using an extra-long HDMI cable is the best option. It also provides flexibility and eases the process. Apart from a wireless connection, this is the best option. It will allow multiple connections at a time. But you will also require another thing, i.e., a soundbar or receiver. After plugging in, check the connection by turning on the switches.
5. Alignment image test:
Alignment images are the best solution when checking image projection. A disc offered by Spear and Munsell gives a good image of the disc for checking alignment. Moreover, you can merely turn off the light. But when you turn off the screen. If you don’t use the disc, you can just use good video content.

If an image is not on the screen and is not rectangular, then surely the projector or screen still needs an arrangement. If you have tried all the options mentioned above and the image still needs to be rectangular, then there is only one last option. Use the keystone adjustments. This will make the image rectangular by electronic manipulation.
6. Place the hatches:
Once the plugs are secured, the position is set, and image quality is ensured, you can now mount the projector by securing it. During this time, you’ll need to check that the HDMI cable is not in the way. Because anyone can tip over it, and the projector may also get disturbed.
7. Selection of picture mode:
Now that you have made all the necessary manual arrangements, it’s time to check the electronic settings. For this purpose, you can go into picture mode. This is a mode similar to modes in televisions and laptops for setting the quality of pictures. If the room is dark enough, choose a cinematic mode or movie option. If there is some surrounding light, opt for dynamic or vivid mode. These modes are bright enough to show a good images even in some light.
8. Sound consideration:
It is always suggested that if you consume loud media, rely on something other than the projector’s sound. You’ll need to go to the market to explore a better option for speakers. Projector speakers are small and low voltage, so they are average.
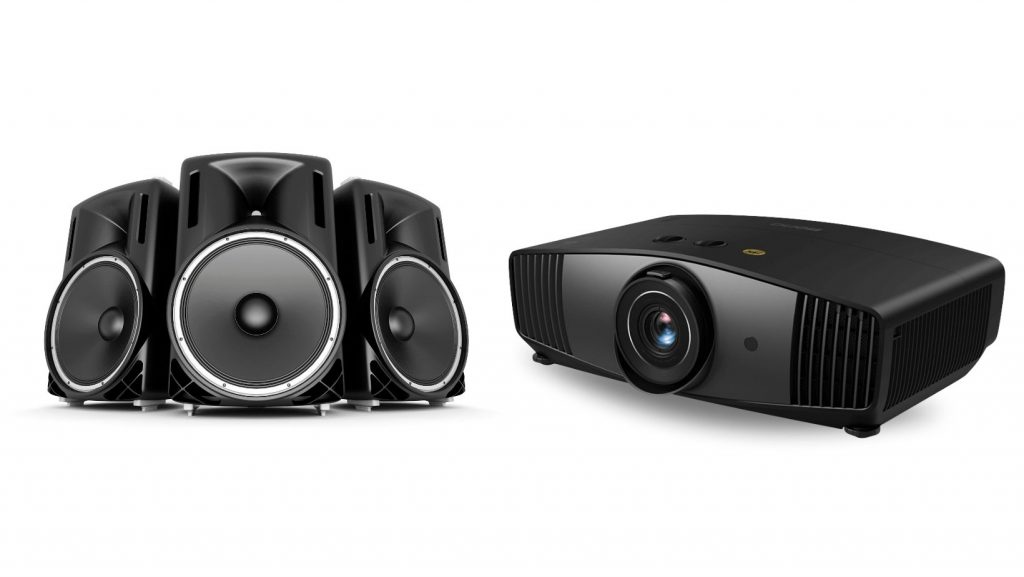
You can connect Bluetooth speakers wirelessly or have a cheaper option of wired speakers. For wired speakers, you need an auxiliary port. Connect the speakers and enjoy. So it would be best to consider a cheaper option for better sound.
9. Just enjoy:
Your projector system is ready, and one last step is to turn off the lights and enjoy the media of your choice seamlessly. Good Luck.
Conclusion:
Projector setup is a common problem for beginners. Most of them used to ask how to setup a projector. We are happy to help you in setting up a projector. It is straightforward. You need to follow the steps mentioned above. If you would like to learn more about projectors, you can visit our website.
FAQs:
What point should be kept in mind while checking projector?
Check the image quality, which is characteristic of the projector. For instance, if the projector is 4k, then check the concerned image. If it says to support 1080, then check 1080 image quality.
Is projector system worth it?
The projector system is also best for work, gaming, and media consumption. Moreover, if you love to watch movies or consume media, you must consider using a projector as it enhances the experience with two folds.
Is it easy to set up a projector?
It is relatively easy to set up a projector. In addition, we have explained how to setup a projector in easy steps. If you follow them, we are sure it will be an easy task for you.

