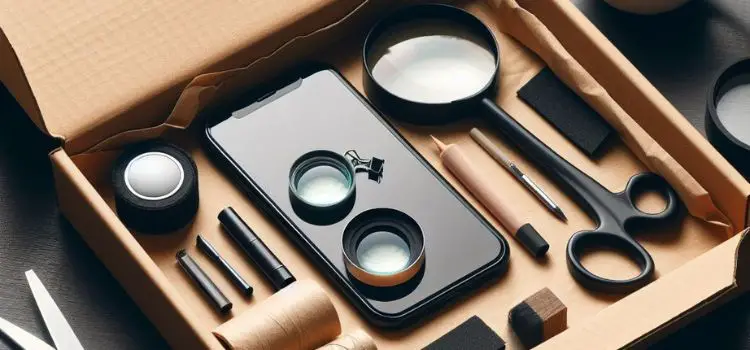
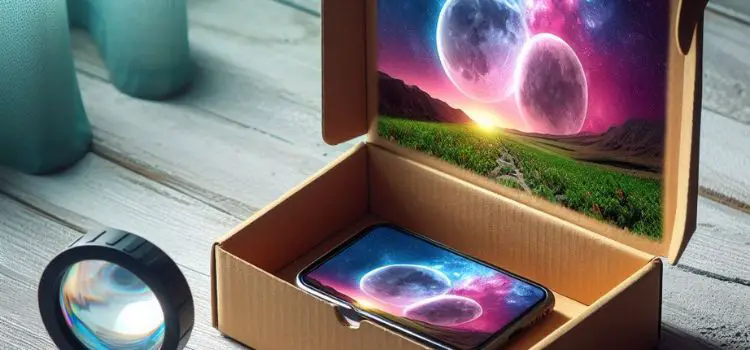
Creating a homemade projector with a mirror opens up a world of cinematic experiences right in the comfort of your home. This step-by-step guide will take you through a comprehensive process, using easily accessible materials to craft a projector that transforms your smartphone or tablet into a big-screen entertainment hub.
Introduction
Projectors are fantastic devices for displaying movies, presentations, or even video games on a larger screen. While purchasing a professional-grade projector might be expensive, making one at home can be a fun and cost-effective project. Our method involves using readily available items and a bit of creativity to achieve impressive results.
Why Build a Homemade Projector?
Projectors are fantastic for enjoying movies, presentations, or gaming on a larger screen. However, purchasing a professional-grade projector can be expensive. Building one at home not only saves money but also adds a touch of personalization and creativity to your entertainment setup.
Materials You’ll Need
Gather these essential items before diving into the DIY projector project:
- Shoebox or cardboard box
- Magnifying glass or lens
- Smartphone or tablet
- Small mirror
- Cutter or scissors
- Tape or glue
- Black paper or paint

Step-by-Step Guide
Step 1: Preparing the Base
Start by selecting a shoebox or cardboard box to serve as the foundation for your projector. Remove the top lid of the box, leaving the bottom part intact.
Step 2: Creating the Projection Hole
On one side of the box, mark and carefully cut out a rectangular hole slightly smaller than the size of your device’s screen. This opening will be where the projection occurs.
Step 3: Fixing the Lens
Take your magnifying glass or lens and position it over the hole you just cut. Secure it firmly in place using tape or glue. This lens is crucial for focusing the light from your device onto the projection surface.
Step 4: Installing the Mirror
Inside the box, opposite the projection hole, affix the small mirror using tape or glue. Ensure the mirror sits at a 45-degree angle to reflect the light from the lens onto a flat surface.
Step 5: Enhancing Projection Quality
To optimize image quality, line the interior sides of the box with black paper or paint. This step minimizes internal light reflections, resulting in a clearer projection.
Step 6: Setting Up Your Device
Turn on your smartphone or tablet and adjust the screen brightness and content you intend to project. Place the device face down into the box, aligning the screen with the lens.
Step 7: Projecting the Image
Close the box securely and position the projector towards a white or light-colored surface—a wall or projector screen works best. Optimal projection quality is achieved in a dimly lit room. To gain a clearer understanding of how the projector functions, take a peek at the diagram provided. This image offers a top-down view, providing insights into the mechanics of the projector setup.
Tips For Optimal Projection
- Use a high-quality magnifying glass or lens for a sharper image.
- Maximize your device’s brightness settings to enhance the projection.
- Experiment with different box sizes and lens positions for improved focus.
- Dim ambient lighting to boost the clarity of your projected image.
Let’s Dive Deeper: 5 Key Things to Remember
- Steady Setup: Place your DIY cardboard projector on a flat surface for stability. Stick it down with tape or use a non-slip mat to avoid wobbles or accidents.
- Handle with Care: Keep the projector away from curious hands, especially from kids. Store it safely after use to steer clear of potential risks.
- Take Eye Breaks: Bright screens are cool, but take breaks! Prolonged viewing can tire your eyes. A well-lit room and regular breaks help keep your eyes happy.
- Play with Angles: Tweak the room lights and find the right spot to avoid glares. This way, your movies or presentations look sharp and comfy to watch.
- Privacy Matters: Since the mirror reflects stuff around, pick a quiet spot to set up your projector. This way, your movie nights stay private and distraction-free.
Conclusion
Congratulations! You’ve successfully crafted your homemade projector using a mirror and easily accessible materials. Unleash your creativity, explore adjustments, and immerse yourself in the cinematic experience from the comfort of your home.
Building a DIY projector not only saves money but also provides an opportunity for innovation and entertainment. Share your creation with friends and family, and relish the joy of transforming your smartphone or tablet into a larger-than-life screen for movies, presentations, or gaming.
Now, armed with this guide, embark on your DIY journey and bask in the satisfaction of creating your very own homemade projector. Happy projecting!
Why is my homemade projector blurry?
Blur in your DIY projector might happen due to several reasons. The lens quality plays a big role, if it’s not good, the picture won’t be clear. Wrong positioning between the lens and screen can cause blur too. Also, poor lighting or a not so great surface can make things blurry.
How can I make my homemade projector clearer?
To enhance clarity in your DIY projector, start by using a high-quality lens for sharper images. Ensure the right distance and alignment between the lens and the screen. Optimize the room’s lighting and use a smooth, white surface for projection. Upgrading to a higher-resolution device can also improve image quality.
Is Homemade Projector Suitable For Daylight Use?
Homemade projectors struggle in daylight due to brightness issues. Sunlight overpowers the projected image, making it hard to see. To use it during the day, darken the room or create a shaded area. But for optimal results, nighttime or low-light settings work best for homemade projectors.

